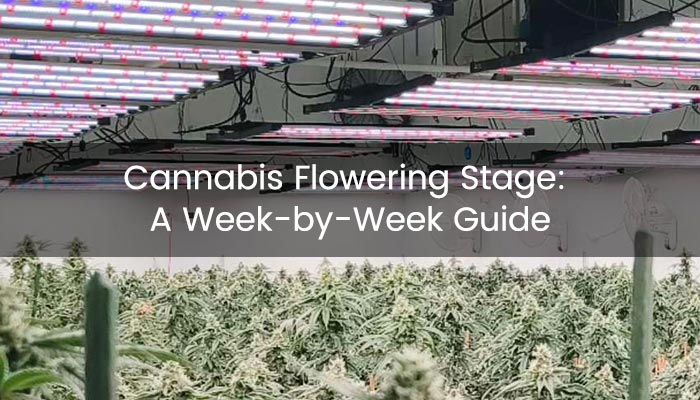
In cannabis cultivation, the flowering stage is a critical period that significantly impacts the final yield and quality of the plants.
As the plants enter this phase, growing conditions, light duration, and nutritional needs change, making them more sensitive to details. The margin for error decreases, and even small mistakes can greatly reduce your final yield.
But don't worry! In this comprehensive guide, we will explore the best practices and considerations for each week of the cannabis flowering stages, ensuring your cannabis plants thrive and yield abundantly.
Table of Contents:- Initiation and Early Development (Week 1-5)
- Late Flowering Stage (Week 6-8)
- Tips for Maximizing Yield During Flowering
- Conclusion
Initiation and Early Development (Week 1-5)
In the first few weeks of flowering, cannabis plants transition from vegetative growth to flowering, with buds starting to form and grow rapidly.
During this period, it's crucial to feed the plants properly and provide them with enough space to grow. Utilizing training techniques to create a flat canopy helps enhance photosynthesis and overall plant health.
Week 1
In the first week of flowering, cannabis plants undergo a vital transition from vegetative growth to the flowering stage.
This change is initiated by adjusting the light cycle to 12 hours on and 12 hours off, signaling the plants to begin producing buds.
It's important to monitor the stretching phase, as plants will grow rapidly during this time. Low-stress training (LST) can be used to control plant height and maintain an even canopy for optimal light distribution.
Pruning and defoliation of dense or obstructive leaves help improve airflow and light penetration, ensuring healthy bud sites. Begin increasing phosphorus and potassium in the nutrient regimen to support bud initiation.
Week 2
In the second week, early bud development begins. At this stage, plants start showing signs of sex, and growers must identify and remove any male plants to prevent pollination. Continue maintaining the 12-hour light cycle and ensure grow lights are positioned at the right distance (24-36 inches) to avoid light burn.
Humidity levels should be maintained between 40% and 50%. Nutrient uptake will increase, so continue feeding with bloom-specific nutrients to promote healthy bud growth.
Besides, CO2 levels can be adjusted to between 800 and 900 ppm, while the PPFD should be kept above 1000 μmol/m²/s to enhance photosynthesis.
The full-spectrum LED grow light, such as the Fold-800, is an ideal fixture for the flowering stage. At a distance of 12 inches, it delivers an impressive PPFD of 1346 μmol/m²/s, ensuring maximum growth and yield.
Week 3
In week three, As plants become more sensitive, you should monitor for potential deficiencies that may manifest in various ways, such as leaf discoloration, yellowing, or dropping. This will help you avoid issues like nutrient burn or light stress.
Light intensity should be kept within the recommended PPFD range of 700-1050 μmol/m²/s. If CO2 is supplemented, the PPFD can be increased to 1000-1400 μmol/m²/s for maximum growth. Nutrient levels should remain high in phosphorus and potassium to encourage healthy bud formation.
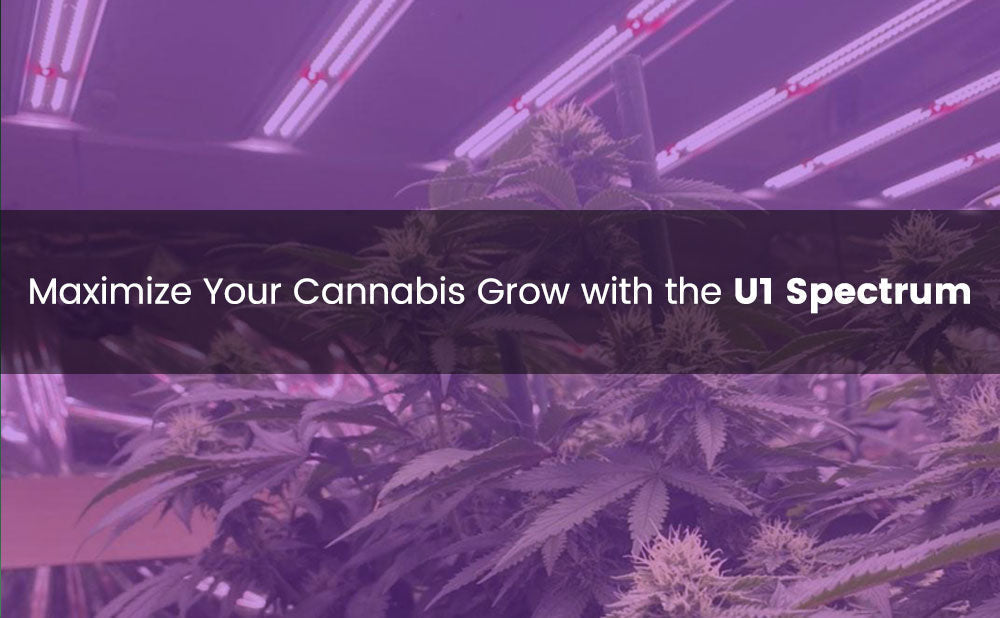
At this stage, I highly recommend the FOLD-1200 U1 Spectrum series. Not only does it offer a high PPF output, but it also has a spectrum tailored for cannabis flowering, with an abundance of red light and sufficient far-red spectrum. This combination is highly effective in boosting both yield and THC content.
Additionally, pruning lower branches and defoliating large fan leaves that block light will help improve overall plant health. Meanwhile, ensuring stable temperature and humidity levels is essential to prevent mold and plant stress.

Week 4
By week four, buds begin to swell significantly, marking the start of more intensive development. Continue with bloom-specific nutrients to promote denser bud formation.
As the buds gain weight, consider using trellis nets to support the branches and prevent them from breaking under the growing weight.
Pruning small branches and dense leaves is essential to maintain airflow and light penetration.
Be cautious with Low-Stress Training (LST) at this point, as branches become stiffer and the buds heavier, so avoid bending too much to prevent damage to the flowers. Regularly check for signs of pests or mold to ensure plant health.
Week 5
Week five marks the beginning of the rapid flowering phase, where buds grow in size and density at an accelerated rate. Keep feeding with bloom-specific nutrients, paying close attention to phosphorus and potassium levels to enhance bud swelling.
Environmental conditions, such as light intensity, temperature, and humidity, should be carefully monitored and maintained to avoid stress or nutrient deficiencies.
This is also the time when the resin glands on the buds become more prominent and more far red light and UV light will contribute to the potency of the final product.
The Spectrum-Y full-spectrum grow light is an excellent match for this stage, as it not only provides an abundance of red and far-red light tailored for flowering but also includes ample UV light.
This combination effectively enhances resin production and promotes terpene development.
Besides, trellising or tying down branches becomes even more important as the buds continue to gain weight, helping to prevent breakage. Keep up with pruning to allow light to reach the inner parts of the plant, promoting even growth.
Late Flowering Stage (Week 6-8)
In the late flowering stage, cannabis plants enter the final stretch before harvest, where buds mature, swell, and reach their full potential.
Key priorities include closely monitoring trichome development to determine the optimal harvest time, continuing to flush the plants with water to remove residual nutrients, and maintaining stable environmental conditions to avoid mold and bud rot.
Week 6
During week six, the plants will continue their rapid bud growth, and trichome production will start becoming more noticeable.
Continue monitoring and adjusting light levels, keeping the PPFD within the optimal range to prevent light burn or stress.
CO2 levels can be increased further if needed, and feeding should continue with a bloom-specific nutrient mix.
Regularly inspect the buds for signs of mold, especially in high-humidity areas, and ensure proper airflow to avoid issues.

Week 7
In week seven, cannabis plants begin entering the final stages of flowering, where buds mature and reach their full potential.
Trichome development will be at its peak, and many growers will start flushing the plants with plain water to remove any remaining nutrients from the soil or growing medium, ensuring a cleaner taste in the final product.
Continue monitoring temperature and humidity closely to avoid any mold or bud rot, particularly as the buds become dense.
At this stage, you can begin closely inspecting the trichomes under a magnifying glass or microscope to determine the optimal harvest time.
Week 8
By week eight, the plants are nearing harvest readiness. The buds should be fully matured, with swollen calyxes and visible trichomes.
Trichomes will shift from clear to cloudy or amber, signaling that the plant is ready to be harvested.
Depending on the strain and desired effect, growers can harvest when the trichomes are mostly cloudy for a more uplifting high or wait until they turn amber for a more relaxing effect.
Continue flushing the plants with water to ensure no nutrient residues are left, and keep an eye on environmental conditions to prevent last-minute issues.
Once the trichomes are at the desired stage, it's time to begin harvesting the buds for drying and curing.
Tips for Maximizing Yield During Flowering
Cannabis cultivation during the flowering phase involves managing light, environment, and various growing techniques. By following our simple tips and guidelines, you can ensure a bountiful harvest.
A PPFD range of 700-1050 μmol/m²/s is ideal during the flowering stage. If you’re supplementing with CO2, you can increase the PPFD to 1000-1400 μmol/m²/s.
Full-spectrum grow lights with a high concentration of red light and far-red light, like the FOLD-1200 U1, are most effective during flowering.
Supplementing CO2 can significantly boost yields, especially when light intensity is high. Maintaining CO2 levels between 1000-1200 ppm can enhance photosynthetic efficiency, allowing the plant to absorb more light and nutrients.
During the day, keep the temperature between 20-26°C, and at night, lower it slightly to 18-22°C. Humidity should be kept between 40-50% to prevent mold growth while still providing enough moisture for healthy bud development.

LST is a technique that involves gently bending and securing branches to create an even canopy. By doing this, you can improve light penetration, ensuring the plant's energy is distributed evenly across all buds, which can increase overall yields.
Removing excess leaves, particularly fan leaves that block light from reaching lower bud sites, ensures the plant focuses its resources on bud production rather than foliage.
Lollipopping involves removing small, underdeveloped branches and leaves from the lower part of the plant. This allows the plant to concentrate its nutrients and energy on the top buds.
As buds grow heavier, supporting the branches becomes essential to prevent them from snapping under the weight. Using trellis nets or stakes helps distribute the weight evenly across the plant and ensures that the branches can bear the increasing load without breaking.
Applying fulvic acid before the flowering stage can improve nutrient uptake and overall plant health. By boosting the plant's ability to absorb essential nutrients like phosphorus and potassium, fulvic acid enhances flower development and can contribute to larger, higher-quality yields.
Conclusion
The cannabis flowering stage is crucial and challenging. Since it is quite sensitive, following a comprehensive guide and focusing on every detail is essential to ensure maximum yield and quality. If you found this article helpful, you can bookmark and share it for easy reference next time!


